Hoop Anatomy
|
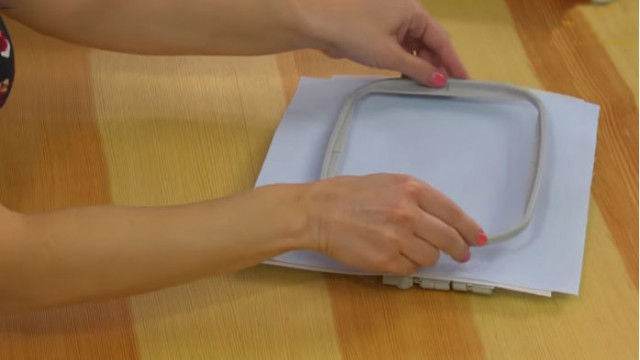
Proper hooping is one of the key factors in achieving beautiful embroidery. By becoming familiar with your embroidery hoop, you will enhance your success in all your embroidery projects! 1.Outer Ring The outer ring of the embroidery hoop surrounds and secures the inner ring, as well as the fabric and stabilizer. It can be adjusted in size to accommodate different thicknesses of fabric and stabilizer by tightening or loosening the screw. 2.Inner Ring The inner ring of the embroidery hoop fits inside the outer ring and is placed on top of the fabric. Unlike the outer ring, the inner ring does not adjust in size. 3.Alignment Marks Both the inner ring and the outer ring feature alignment marks to ensure proper alignment of the two components. It is important for the alignment marks to match up when hooping. 4.Hoop Bracket The hoop bracket is the part of the hoop that attaches it to the embroidery machine. To attach the bracket to the hoop, squeeze the two bracket pieces together and fit the hoop bracket over the bracket on the module arm. 5.Hoop Screw The hoop screw fits into the gap of the outer ring of the hoop. Loosening the screw widens the gap, while tightening it reduces the gap. It is important to exercise caution when loosening the screw, as the nut attached to it can separate if it is loosened too much. The hoop template is a plastic grid that fits into the inner ring of the hoop. It indicates the center of the embroidery field with marked lines. The gridlines on the template help ensure accurate hooping of the fabric for precise placement of your design. |
|