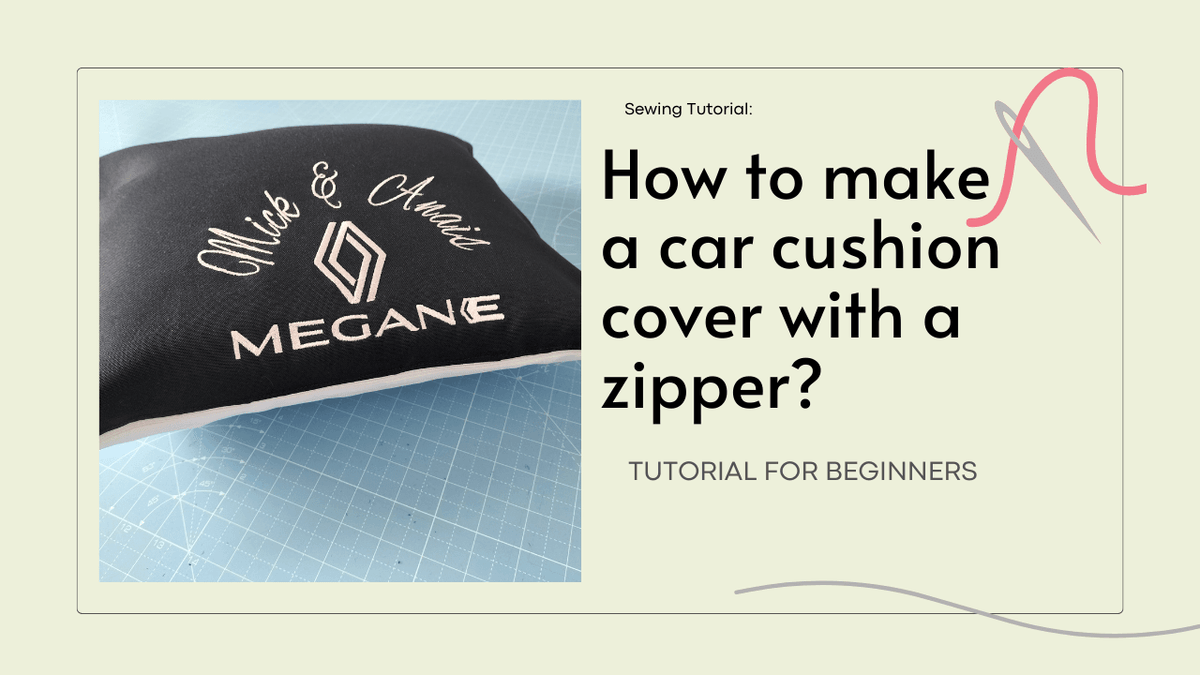
How to make a car cushion cover with a zipper?

Road trips bring to mind adventure, extended conversations, and extensive hours on the road. While we thoroughly enjoy cars, passengers often experience fatigue and discomfort during these lengthy stretches. Although having high-quality tires and a smooth ride can enhance the overall journey, we have discovered several tactics over time to ensure our comfort during the ride. One delightful suggestion is personalizing your car cushion with embroidered logos of car manufacturers, adding a touch of amusement to the experience.
Browse our collection of vehicle brand logos and start customizing your cover!
Making a few minor adjustments to cushion covers can yield significant improvements. Additionally, crafting your own covers presents an excellent DIY project worth exploring.
You have the freedom to fashion zippered cushion covers using your preferred fabric. Nowadays, the vast array of fabric options available makes the process of creating a home-made cushion cover far more intriguing than simply buying a new one. Follow our simple sewing guide and you'll discover that creating personalized cushion covers is easier than you think. This tutorial will guide you through every step, from sewing the fabric to personalizing it with embroidery, making the appropriate markings and using a seam ripper to facilitate zipper placement.
We specifically tailored our instructions for a 40 cm square cushion cover, but you can apply the same steps to cushions of any size, including rectangular ones. It's an ideal project for sewing beginners, as it introduces you to the sewing machine and embroidery work, allowing you to complete the project in no time. It uses a basic straight stitch and a zipper foot which is an attachment you can buy to use with any sewing machine.
Here are the step-by-step instructions for making a cushion cover with a zip and an elastic band on the back of the cushion for attachment to the car's headrest.
You will need :
- 2 pieces of fabric measuring 42 x 42.5 cm
- A zipper
- Pins
- Sewing machine
- Embroidery machine
- Zipper foot
- Seam ripper/cutter
- Measuring tape
- 1 elastic band, 2.5 cm wide
Step 1:
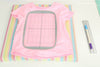
Prepare to make a 40 cm square cushion by cutting your fabric in a specific way. For the hem, add an extra 2 cm on each side, and for the zipper position, add an extra 0.5 cm on the edge. You'll need two pieces of fabric, each measuring 42 cm x 42.5 cm, to create this cushion.

Step 2:
On the front of the cushion, center your personalized embroidery design and turn on the embroidery machine. Next, take the two pieces of fabric and align them with their right sides facing each other. On the top edge, which is slightly larger due to the extra 0.5 cm, place the zipper slider at least 5 cm from the edge and secure it with a pin. Lay the zipper flat on top of the cushion and measure a further 5 cm from the opposite end, then secure with a pin.


Step 3:
Create notches where the pins are positioned by carefully snipping through both layers of fabric and the top edge of the zipper.
Step 4:
Set aside the zipper for now and focus on sewing the top edge of your cushion. Use a regular stitch length to stitch the two fabric pieces together until you reach the pin/notch. Remember to backstitch at the beginning and end for added reinforcement.
Step 5:
Proceed to sew the middle section with an extra-long stitch length, ensuring it's easy to unpick if needed. It's recommended to use a regular sewing machine rather than a handheld one, as it's more suitable for cushion-making and other larger projects. Once you reach the last section, switch back to a normal stitch length and secure it with a backstitch at the notch and the end of the fabric.

Step 6:
After sewing the seam in Step 5, press it open to create a flat surface. Now, take the zipper and position it face down onto the seam allowance, aligning the notches you created in Step 3 with the zipper. Place more pins along the length of the zipper to keep it flat and secure. When pinning, ensure they point in the direction you will be sewing, which, in this case, is down, across, and up.
TIP: When positioning the pins, have the pinheads facing towards you. This makes it easier to remove the pins later and reduces the risk of accidentally pricking yourself.
Step 7:
Flip the fabric over to the correct side and proceed to pin up on one side of the zipper seam and down on the other side.
Step 8:
Now, place your thumb over the position where the notch pin is located. Hold it in place as you remove the pin from the underside and reposition it at the same spot on the topside. Repeat this process for the second notch pin. Then, remove the rest of the pins from the underside or back of the fabric.
Step 9:
For sewing, use a regular zipper foot. Start sewing from the top left, coming down, pivot at the bottom, and sew across the bottom edge. Continue going up the other side, pivot again at the top to meet where the stitches began.

Step 10:
Proceed to use an unpicker to unpick the seam (not the fabric) at the middle section where you stitched with long stitches during Step 5. Gently push the unpicker through the seam to open it up. This will reveal your zipper.
Step 11:
Trim off the excess length of the zipper at the bottom to match the dimensions of your cushion cover.

Step 12:
With the zipper still open, place the two pieces of fabric right sides together. Make sure the top seam is perfectly aligned, then pin the other three sides of your cushion, inserting a strip of elastic on each side 10 cm from the top. The elastic should be between the two fabrics at this stage. (Elastic band on back of cushion allows attachment to vehicle headrest)
Step 13:
Sew all three sides in one continuous seam, pivoting at both corners. Start sewing from the top right corner and finish at the top left corner.
Step 14:
Trim the two bottom corners to create a clean, sharp edge when you turn the cushion cover inside out. When you turn the cushion cover right side out, you can use a pin to help the corners form a clean, sharp shape. Insert the pin on top of the seam, not inside the cushion, to avoid tearing the fabric. Avoid using scissors or sharp tools for this operation. Before inserting your cushion, iron your new cushion cover to give it a flawless appearance.
Now all you have to do is choose the perfect material for your cushion cover! This tutorial is adaptable to different types of fabric, but works exceptionally well with plain cotton fabrics for better logo visibility.
 |
 |
source images: fineryembroidery / prima.co.uk