Mastering Corner Perfection: A Stitcher's Guide
Mastering Corner Perfection: A Stitcher's Guide
I’ll never forget the first time I sewed a cushion cover and turned it inside out... only to find lumpy, sad corners staring back at me. It was a humbling moment—and the start of my quest for corner perfection. Whether you’re sewing crisp square necklines or sharp pillow edges, mastering corners makes all the difference between a project that looks homemade and one that looks professional.
Mastering the Outside Corner
1. Mark the Seam
Begin by marking the seam allowance (5⁄8-inch or 1.5 cm) from both edges to create an intersection point where you’ll pivot.
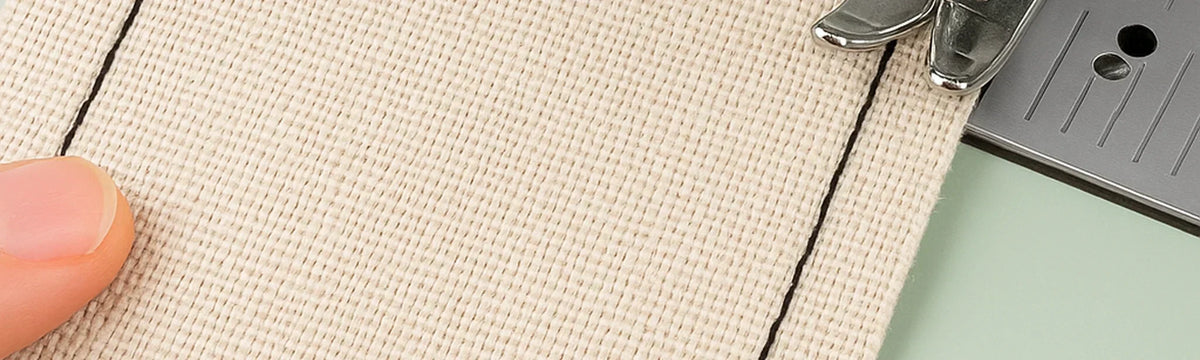
2–5: Corner Technique in Action
2. Sew to the Corner

Sew until you reach the marked pivot, keeping the needle in the fabric.
3. Pivot with Precision

Lift the foot, turn the fabric, align your seam, and continue sewing.
4. Trim and Layer

Trim across the point, then angle-cut and grade seams to reduce bulk.
5. Press and Turn

Press seams open, turn right side out, and push out the corner for a crisp finish.
Mastering the Inside Corner
Sewing inside corners can feel like wrangling fabric into behaving, but with practice, they’ll look just as polished as the outside ones.
1. Stitch to the Intersection
Straight stitch right up to where the lines intersect. Precision here lays the groundwork for a clean inner point.
2. Pivot and Continue

Keep your needle down, lift the presser foot, turn the fabric, and align your next seam line. Lower the foot and stitch onward like the champion you are.
3. Trim and Clip
After stitching, clip carefully into the inside corner close to—but not through—the stitching. Trim seam allowances to reduce bulk and help the fabric relax into a nice crisp corner when turned.
4. Press and Reveal

Press seams open carefully. Then turn the project right side out and press again. Your inside corners will now look clean, square, and professional—like they were born that way.
Final Thoughts
Corner perfection isn’t magic—it’s practice, precision, and patience. Once you master pivoting, trimming, and pressing techniques, your pillows, purses, necklines, and everything in between will boast crisp, polished points that elevate your sewing from good to extraordinary.