Mastering the Double-Turned Hem for Impeccable Finishes
Mastering the Double-Turned Hem for Impeccable Finishes
In the pursuit of excellence, achieving a polished and professional look extends to every aspect of life, including the art of sewing. A precisely executed hem not only imparts a refined aesthetic but also safeguards against fraying edges. Among the various hemming techniques, the double-turned hem stands out as both accessible and elegant.
Steps to Craft a Flawless Double-Turned Hem
1. Fold and Press
- Begin by folding the fabric edge under 1⁄4 inch (0.6 cm) and pressing with an iron.
- Use a seam gauge to ensure the fold is even all the way across.
2. Fold at the Hem

- Make a second fold at your desired hem width (e.g., 1⁄2 inch or 1.25 cm).
- Pin the hem in place to keep it stable while sewing.
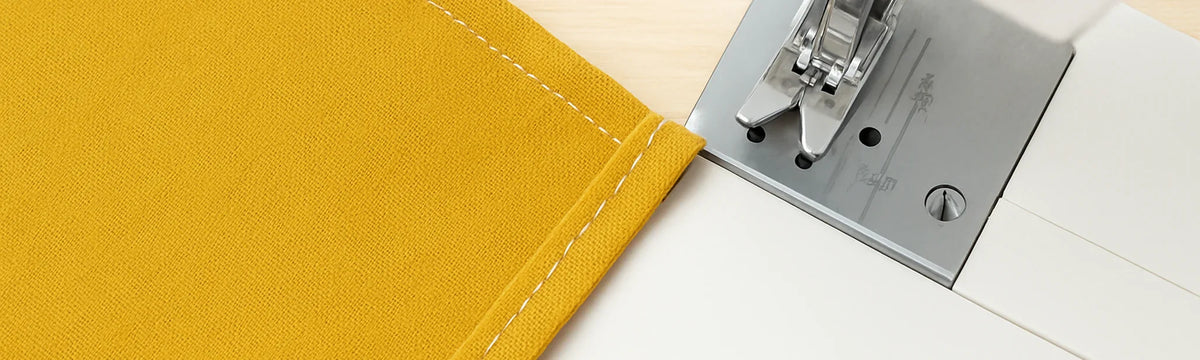
3. Straight Stitch
- Sew along the inner fold edge with a straight stitch.
- Keep your stitching even and straight for the cleanest look.
4. Sew the Hem
- Sew across the entire length of the hem.
- Secure the start and end with backstitching for durability.
Mastering the double-turned hem is a timeless skill that elevates the overall quality of your sewing projects.
Mastering Larger Hems with Precision
Some projects, like curtains or formal wear, require a much wider hem. Here’s how to manage those beautifully:
1. Accurate Measurement
- Measure the required hem depth from the needle on your machine and mark a reference line.
2. Use a Temporary Guide

- Place a rubber band or painter's tape on your sewing machine to use as a seam guide.
- This visual line helps keep wide hems consistent and neat.
3. Align and Sew
- Align your hem fold to the guide as you sew to maintain accuracy.
4. Remove the Guide
- Remove any tape or rubber band immediately after finishing to avoid residue.
With patience and the right technique, even the widest hems become a simple, satisfying part of your sewing process.