Step by Step, Sew an Embroidered Polar Bear
Step by Step, Sew an Embroidered Polar Bear
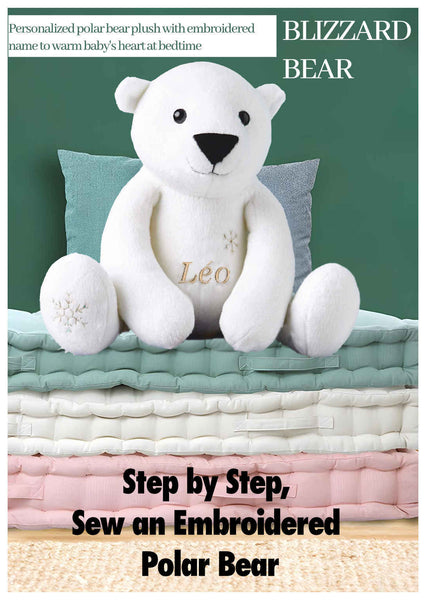
If you've ever dreamed of creating a soft, squishable snow-friend with a touch of embroidery magic, you're in the right place. Grab your plush, your threads, and maybe a warm drink, because we're sewing up some serious cuteness!
Materials Needed
- White plush fabric: 50x75cm (20x30 in)
- Black plush fabric: 6x6cm (2.3/8 in)
- Pair of plastic safety eyes: 12mm (½in) diameter
- Black and metallic silver stranded cotton
- Scraps of iron-on interfacing
- Polyester toy filling
- Basic sewing kit
- Polar Bear Pattern
- Snowflake Wonderland Embroidery Designs Pack
Preparing and Cutting the Fabric
Step 1: Trace and Cut
First, trace and cut all your pattern pieces. It's like surgery—but furrier. Don't forget: flip templates when needed to get mirror images. Trust the notches; they're tiny but mighty guides!
Step 2: Fabric Prep
Transfer markings onto the wrong side of the fabric using a water-erasable pen. Then carefully cut out all required pieces, keeping your white plush and black plush separate.
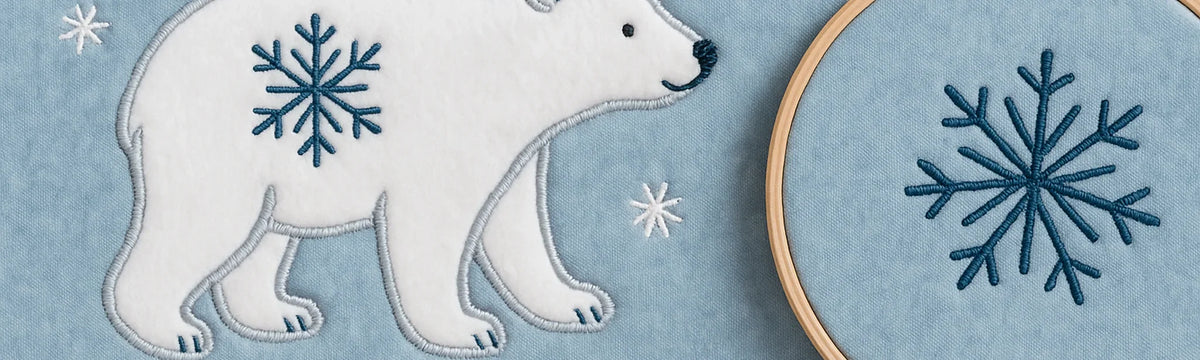
Embroidering the Snowflakes
Step 3: Embroidery Setup
Stick some iron-on interfacing to the wrong side of your plush. Hoop with stabilizer underneath and a water-soluble layer on top. Embroider snowflakes like you're sprinkling magic across winter!
Use metallic thread for an extra twinkle. Add as many snowflakes—or as few—as you like.
Building the Bear
Step 4: Make the Ears
Sew the front and back of each ear together, flip right side out, and create a cute little fold at the base. It's basically origami, but cuddlier.
Step 5: Assemble the Face
Close darts, attach the nose, sew on the sides—easy! Well, easy if you remember that tiny mistakes make for "extra character." That's our story and we're sticking to it.
Step 6: Add the Eyes
Poke tiny holes where marked and insert safety eyes with care. Your polar bear will be watching you lovingly (and silently judging your thread tension).
Step 7: Finish the Head
Sew the back of the head together first, then attach it to the front. The result? A surprisingly expressive bear looking back at you with proud, embroidered glory.
Constructing the Body
Step 8: Build the Body
Sew the tummy and side panels together. It’ll look floppy at first, like a forgotten laundry pile. Stay strong—it gets cuter fast.
Step 9: Attach Arms and Legs
Seam the underarms and feet onto the body. Imagine you're assembling a very sleepy teddy bear jigsaw puzzle.
Step 10: The Tail!
Sew and lightly stuff the tail. It's the cherry on top. Don't skip it—polar bears without tails are just weirdly ambiguous blobs.
Final Assembly
Step 11: Joining the Head to the Body
Attach the head to the body. It's officially alive! (Well, sort of.)
Step 12: Stuff and Shape
Fill your bear lovingly with stuffing. Not too firm, not too squishy—like a memory foam hug.
Step 13: Embroider Features
Use black stranded cotton to embroider a tiny smile and add gentle eye shaping. Bonus points if your bear ends up looking a little mischievous.
Step 14: Closing Up
Finish by hand-sewing the opening closed with a ladder stitch. Congratulations—you have sewn yourself a friend!