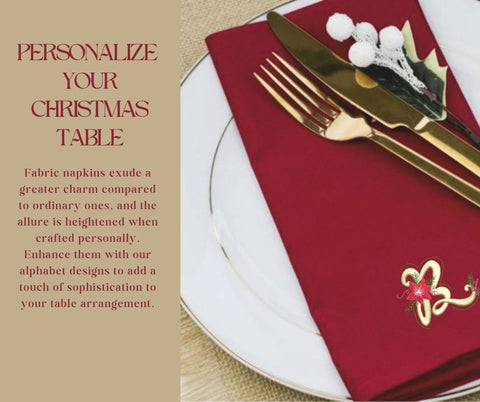
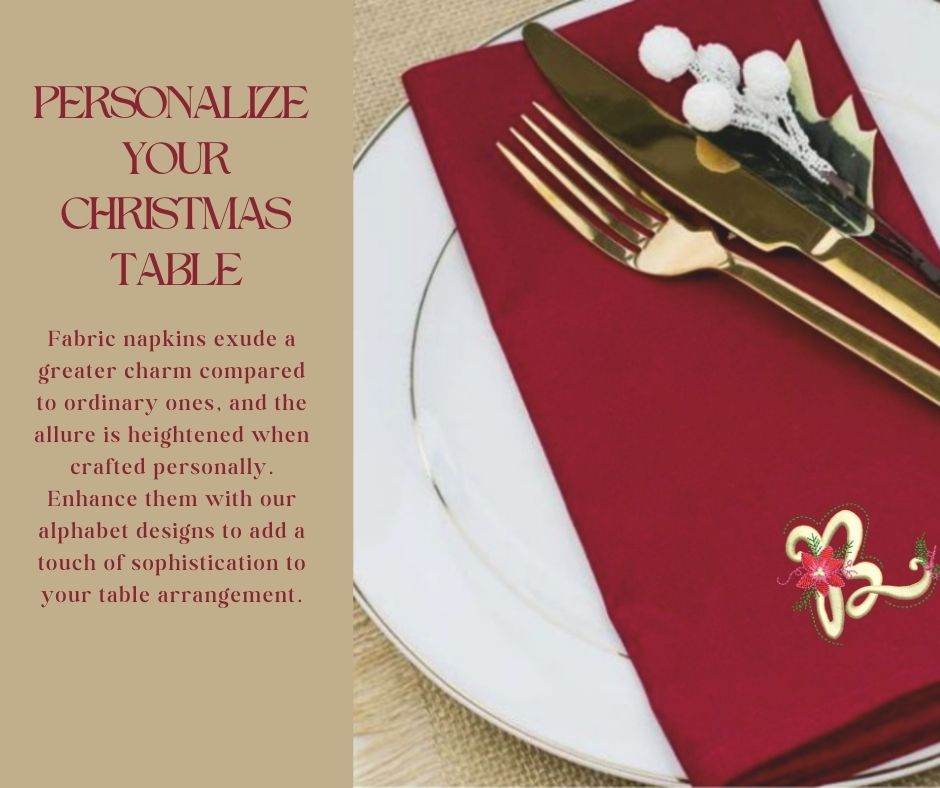
Personalized custom napkins, perfect for your Christmas lunch and dinner

MATERIALS
- Utilize linen or cotton fabric (see “Source”)
- Employ wash-away stabilizer.
- Choose a fabric marker, like Frixion.
- Have a point turner on hand.
- Acquire alphabet Christmas designs.
PREPARATION
• Cut four 18" squares from the fabric and meticulously press to eliminate any creases.
• Fold the edges towards the wrong side by ½" and press firmly.
• Keep the folds intact, folding the right sides together along one corner to create a point.
• Using the folded edge as a guide, mark a line at 90°, commencing where the raw edge meets the folded edge (A).
Tip: Employing a clear acrylic ruler for marking this line allows you to align the folded edge with the ruler's markings.
CONSTRUCTION
• Stitch along the marked line, securing stitches at both ends. Trim excess fabric to ¼" from the stitched seam.
• Finger press the seam open and flip it towards the right side. Use a point turner to push out the corners and press.
• Secure the seam in place, stitching 1⁄8" from the inside folded edge (B).
• Indicate the embroidery design's location with a fabric marker.
REPEAT PROCESS Repeat the aforementioned steps with the remaining napkin squares.
EMBROIDERY PROCESS
• Download the embroidery design and upload it onto the embroidery machine.
• Secure a piece of wash-away stabilizer and a napkin in the hoop. Attach the hoop onto the machine.
• Stitch the design, adjusting colors as necessary.
• Once the machine completes the embroidery, remove the hoop and carefully detach the napkin from it.
• Rinse the napkin under water to dissolve the stabilizer completely. Lay it flat to dry.
DESIGN
Alphabet Christmas Embroidery Designs
SOURCE
 Bordeaux stretch cotton: Driessen Stoffen
 Linen viscose petrol: Driessen Stoffen


