Sewing Machine Anatomy
Sewing Machine Anatomy – Complete Beginner’s Guide
Although various types of sewing machines are available, most of them share a similar set of core components. Knowing what each part does not only boosts your confidence, but also helps troubleshoot issues and make the most of your sewing projects. Below is a broad overview of the features commonly found in a sewing machine. Always refer to your machine’s manual for specifics.
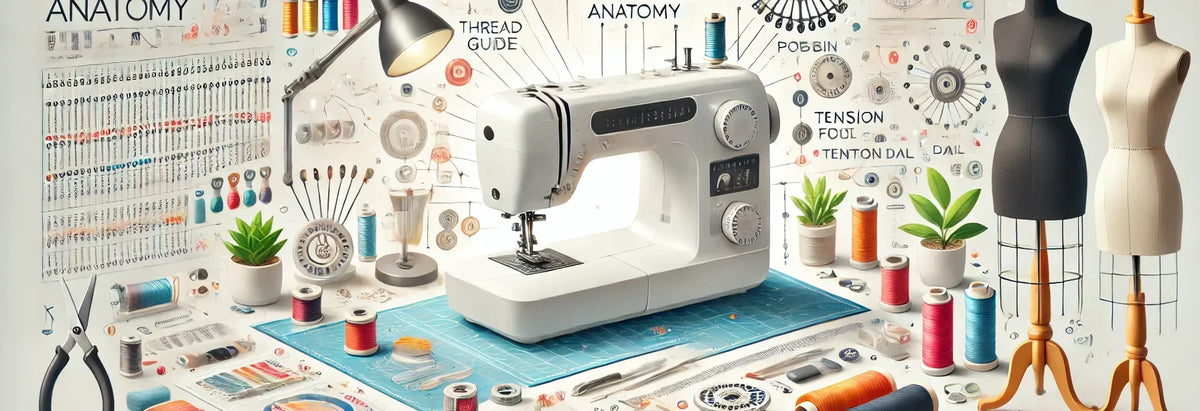
Main Parts of a Sewing Machine

This labeled diagram helps visualize the major parts you'll find on most home sewing machines.
1. Thread Guide
This small metal loop helps guide the thread from the spool to the needle. It keeps tension consistent and prevents tangles.
2. Stitch Selector
Want a zigzag or straight stitch? This dial lets you choose different stitch patterns depending on your project needs.
3. Stitch Length Selector
Controls how long each individual stitch is. Longer stitches are great for basting, while shorter ones are ideal for permanent seams.
4. Bobbin Winder
Before sewing, you’ll need to wind thread onto a bobbin. This mechanism makes the process quick and automatic.
5. Flywheel (or Handwheel)
Turn this manually to move the needle up and down. It’s especially useful when making precise adjustments or starting/stopping stitches.
6. Reverse Button
Used to sew in reverse, often to reinforce seams at the beginning and end of a stitch line.
7. Presser Foot
Holds your fabric steady as the feed dogs move it along. Different presser feet are used for different sewing techniques.

8. Presser Foot Lever
Use this lever to raise or lower the presser foot. Always raise it when inserting fabric and lower it before sewing.
9. Feed Dogs
These little teeth pull the fabric through the machine while you sew. You can drop them for free-motion embroidery.
10. Needle Plate
This metal plate sits beneath the needle and presser foot. It has guides to help you sew straight lines and allows the feed dogs to move the fabric.

11. Bobbin and Bobbin Cover
Located underneath the needle plate. The bobbin supplies the lower thread. Be sure to insert it correctly!
12. Tension Control
Adjusts the tightness of your upper thread. Proper tension ensures your stitches look even and professional.
13. Take-up Lever
Moves the thread up and down through the machine. It’s essential for forming each stitch and preventing snarls.
How These Parts Work Together
The sewing machine is a coordinated system. The upper thread (from the spool) passes through the tension control, take-up lever, and needle, while the lower thread comes from the bobbin. When the needle penetrates the fabric, the hook below the needle plate catches the upper thread and loops it around the bobbin thread, creating a stitch. The feed dogs then pull the fabric along, and the process repeats.
Care and Maintenance Tips
- Clean lint from the bobbin area regularly with a brush or vacuum.
- Oil the machine as recommended by your manual.
- Replace needles frequently — a dull needle can ruin your fabric.
- Use a dust cover when not in use to protect from debris and damage.
Final Thoughts
Understanding the anatomy of your sewing machine is like learning the dashboard of your car — once you know what each part does, you can operate it with more confidence and creativity. Whether you’re just getting started or need a refresher, bookmark this guide as your go-to reference.
Explore more in our Adjusting the tension and stitch or read next: Machine needles