Step-by-Step Guide: Sewing a Trendy Embroidered Bag with Art Deco Flair

MEASUREMENTS
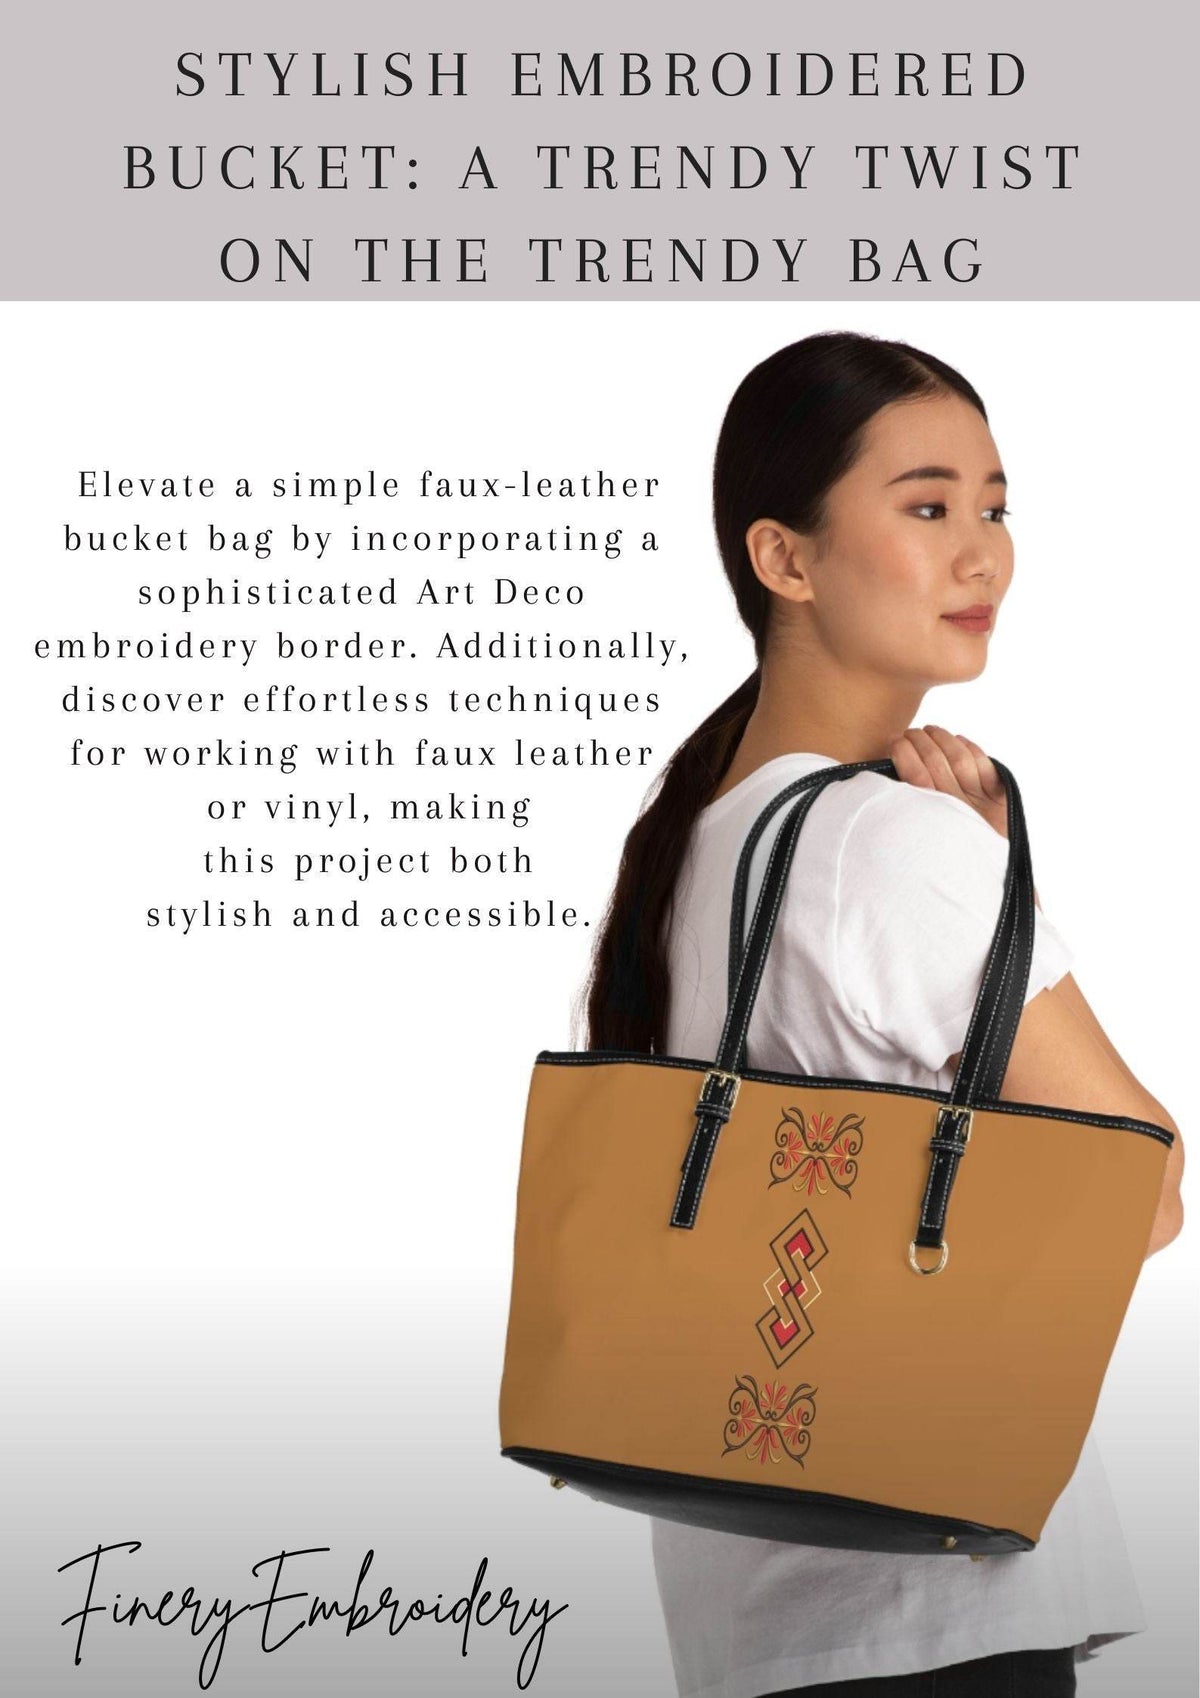
The finished bag stands at a stylish ~12" (30cm) in height, boasting a width of approximately ~18" (45cm) at the top and a base depth of ~5" (13cm).
MATERIALS
To embark on this trendy bag journey, gather the following materials:
- Bag Pattern (like the Stockholm Bag Pattern; check the "Source" for details)
- Exterior: ½ Yard of Vinyl, faux leather, cork, cotton, or canvas (more if your fabric has a distinct direction).
- Contrast Fabric: 1 Yard of recommended cotton fabric; alternatively, use vinyl, faux leather, cork, or canvas if your sewing machine can handle it.
- Lining: ⅓ Yard of cotton fabric or a suitable material with raw-edged possibilities for handles and zipper pocket trim. If using vinyl for the exterior, a full yard can suffice.
- Interfacing: 1 Yard
- Notions (as per pattern envelope)
- Thread: all-purpose & embroidery
- 12” Zipper for lining pocket (size #3 or #5, according to preference)
- 18” Zipper for closure (optional, with a #5 size recommended)
- 1 Metal Zipper End
- 1 Magnetic Snap (optional, for those favoring snaps over zippers)
- Non-permanent Marker: for making temporary marks that can be easily removed.
- Double-Sided Tape
- 100/16 Sturdy Sewing Machine Needle (preferably topstitch kind)
- Fabric Glue
- Rotary Cutter, Cutting Mat, and Ruler
- Fabric Clips
- Border Design (approximately 1½ " × 6"; explore the "Borders Designs collection" for inspiration)
Now that we've got our materials lined up, let's dive into the warm and detailed steps of crafting your chic and trendy embroidered bag.
PREPARE
Let's get ready to bring your trendy bag to life:
- Draw a Copy of the Pattern Pieces: Begin by creating duplicates of the pattern pieces.
- Place and Cut Fabric: Lay the main panel pattern, with right sides together, on a flat work surface. Proceed to cut the pattern pieces from both the outer and lining fabrics. Don't forget to transfer all pattern marks for precision.
EMBROIDER

It's time to add a touch of personality to your bag:
- Print and Cut Design Templates: Print two templates of the chosen design and carefully cut them out.
- Prepare Front or Back Panel: Position the front or back panel right side up on a flat work surface. Use a water-soluble pen to mark the center front of the panel.
- Template Placement: Center the first template over the center-front line, ensuring the design's lower edge is 5⁄8" from the panel's lower edge. Pin it in place. Repeat this process for the second template, aligning the design's upper edge 5⁄8" from the panel's upper edge, leaving about 1⁄8" between the designs at the short edge (A).
- Stabilize and Secure: Hoop a piece of cut-away stabilizer, marking both vertical and horizontal centerlines. Apply temporary adhesive to the stabilizer. Position the front panel right side up over the stabilizer, aligning the centerlines with the design template centerlines. Finger press to secure.
- Machine Setup: Place the hoop onto the machine, aligning the needle with the design template centerpoint. Remove the template.
- Embroidery Process: Embroider the design, changing thread colors as desired.
- Finishing Touch: Remove the hoop from the machine and the stabilizer from the hoop. Trim away the excess stabilizer from the design perimeter on the front-panel wrong side.
- Repeat for Remaining Design: Now, repeat the embroidery process for the remaining design.
There you have it! Your fabric is prepped, and the embroidery is underway. Follow these detailed steps to ensure your trendy bag is infused with style and personality.
CONSTRUCT
• Build the bag following the pattern instructions.

DESIGN
Borders and Frames Fancy Border: (240315)
Decorative Blocks Border: (Decorative block 1 (5))
SOURCE Stockholm Bag - Tote Bag Template - Carry All Tote Bag: PinkPonyDesign.etsy.com
|
TIPS FOR WORKING WITH FAUX LEATHER & VINYL Explore helpful tips and techniques for seamlessly working with faux leather or vinyl:
Master these tips, and you'll navigate the unique characteristics of faux leather and vinyl with confidence and ease. Happy crafting! |